

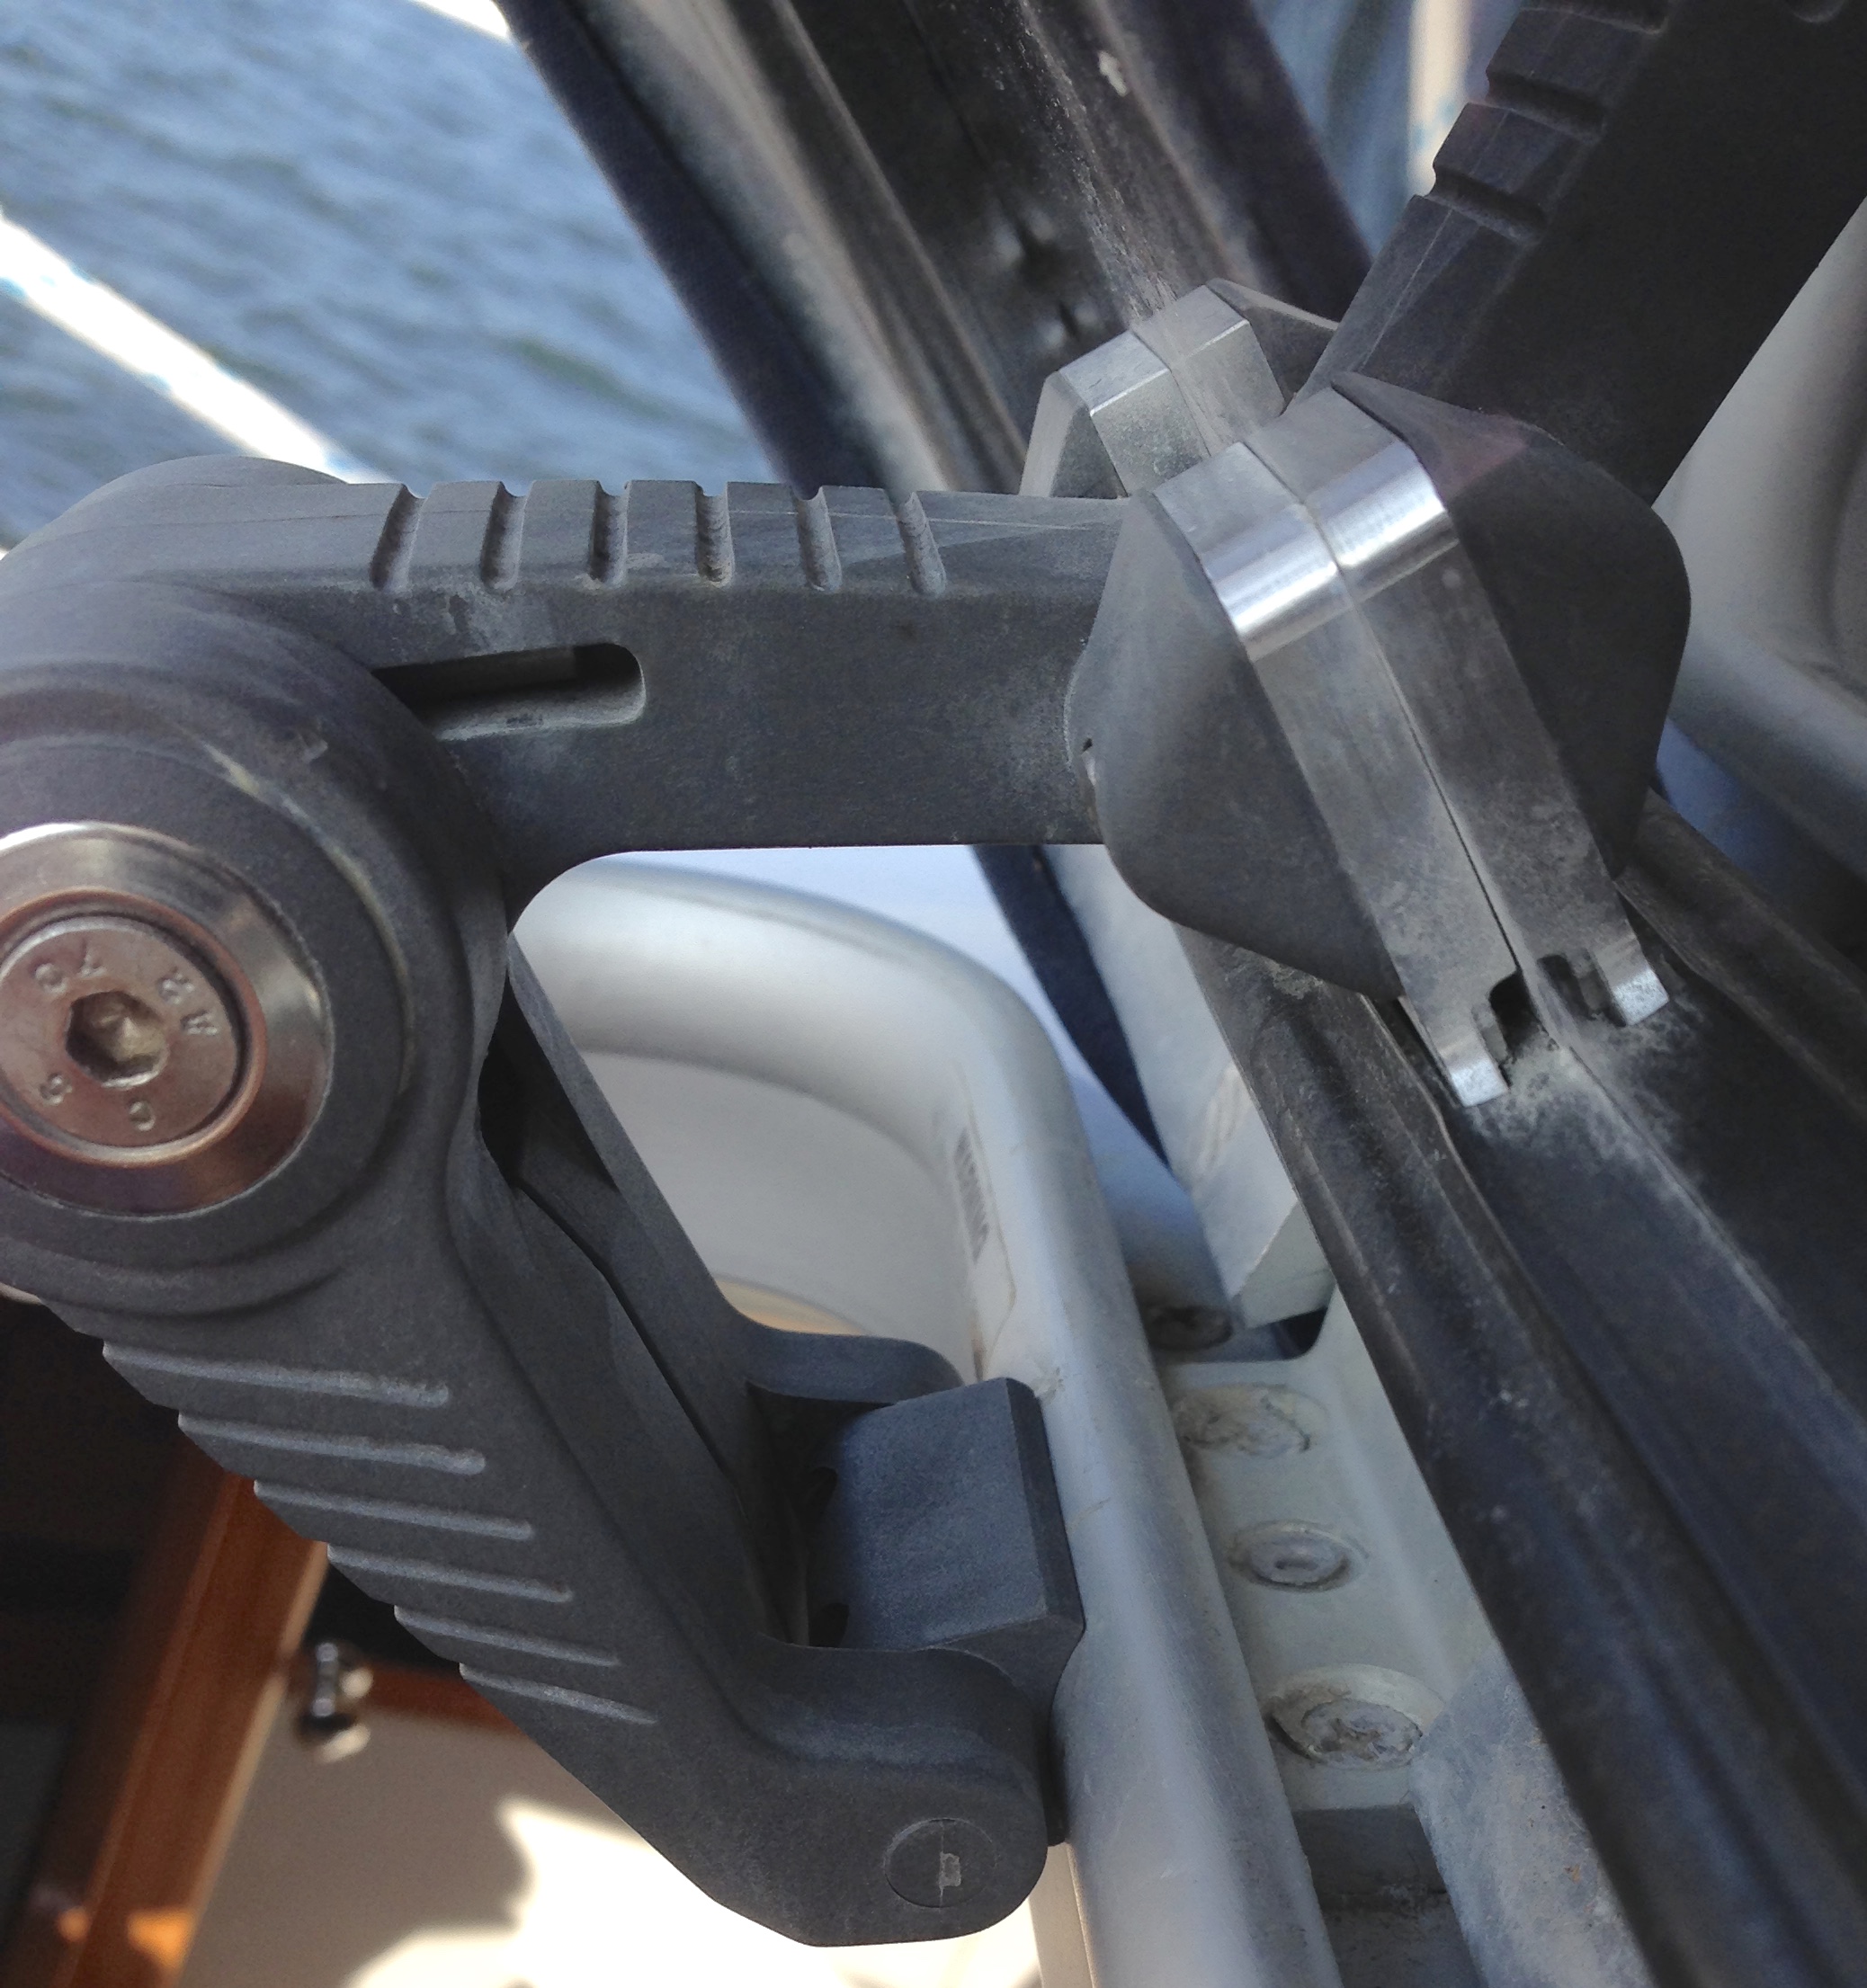
Hatches seem to be a high interest topic of late. I will add some comments regarding a potential friction hinge problem. Our forward hatch had both friction hinges break free from the aluminum deck mount channel. These plastic friction hinges are attached to the channel with two rivets. The rivet heads snapped off. The hatch remained hinged to the aluminum channle, but could only be held open with a stick or by tying the hatch with a line to the mast.
It is not possible to replace the rivets without removing the entire hatch assembly from the boat. The simpler option is to replace the rivets with metric # 6 stainless steel Allen bolts. Leave the hinge arm mounted to the plexiglas in place. Disassemble the other arm that has broken free from the hatch channel. This hinge arm is a clamshell design and will pull apart after the endcap Allen bolt is removed. There are two springs in each friction hinge. These can easily be removed with the hinge in the full open position. The broken rivet pieces can then be pushed out of the arm's face mount, and out of the aluminum channel.The shank on a metric #6 bolt is slightly larger than the rivet hole in the arm's mounting face, so you will have to drill slightly larger holes. Take care to not expand the hole any larger than needed; it will weaken the hinge in the mounting area. Do not enlarge the rivet holes in aluminum channel; they are a perfect size for the # 6 metric bolt after you tap the threads. Get the proper sized tap from the hardware store you purchased the bolts from and carefully tap threads into the existing rivet holes. The bolts may have to be shortened. If so, use a dremmel with cut off wheel. Mine were cut to about 3/4" long. Tie the hatch open and re-mount the hinge face plate to the aluminum channel, and then reassemble the arm with springs. The hatch should be open at an angle that applies no load to the fully extended torsion springs. This will ensure that the hinge mounting face is perfectly alligned to the aluminum channel. (If it's out of alignment, you risk cross threading the bolt holes). Use a little sealant in the bolt holes to eliminate water intrusion past the hatch channel.
This may proceedure may sound complicated, but it's not. It maybe will take 30-60 minutes and is a lot easier than removing the entire hatch assembly.
Paul & Wendy Keyser
"First Light"
Rye NH
2005 C36 MKII #2257
Wing, M35B
Paul & Wendy Keyser
"First Light"
Rye NH
2005 C36 MKII #2257
Wing, M35B