
Last summer I posted about the severe fuel problem I had. I drained the tank and shop vac'd it, but after hauling I debated whether I should remove the tank and really clean it; I'm glad I did because I found an 8" x 6" by 1/2" layer of sludge in the bottom of the tank.
After cleaning that, I decided, since the tank was out, to add a clean out port. The following describes what the process I went through should it be of interest to others. Now, I had my tank out. Seabuilt, on their website, shows this job being done with the tank in place. At the bottom of my narrative I've added some thoughts about trying to do this with the tank in the boat.
I first googled fuel tank plates and found a company called Seabuilt ([url]www.seabuilt.com[/url]) that sells these things. They come in 6"/4" (4" hole with a 1" lip all around), 8"/6" or 10"/ 8". I choose the 8/6 since it seemed more likely I could get my whole hand/arm into the tank if I had to (turned out to be true).
Interesting product (see pic 1)... there is an inner ring that is really a complete ring cut in half and held together by a rubber gasket. This folds in half letting you insert it into the hole you cut in the tank (see pic 3). The studs are fastened to this ring so when you push them up from inside the tank they don't fall back into the tank. The external gasket holds the internal ring in place, but I found the ring stayed in place without it.
Next I got a deck access plate from West Marine. If you take on this project, you'll need a deck plate one size larger than the tank access plate. If you choose the same size deck plate as the access plate, the bolts on the tank access plate will be under the locker deck and hard to get to. Between the deck access plate and the tank access plate, the whole job costs about $200.
Tool wise you'll need a hole saw the size of the access plate you choose and a hand held jig saw to cut through the deck to access the tank. The deck plate instructions tell you to use the cover as a template to mark the size but then to cut the hole 1/8" larger, and you wont find a hole saw that size.
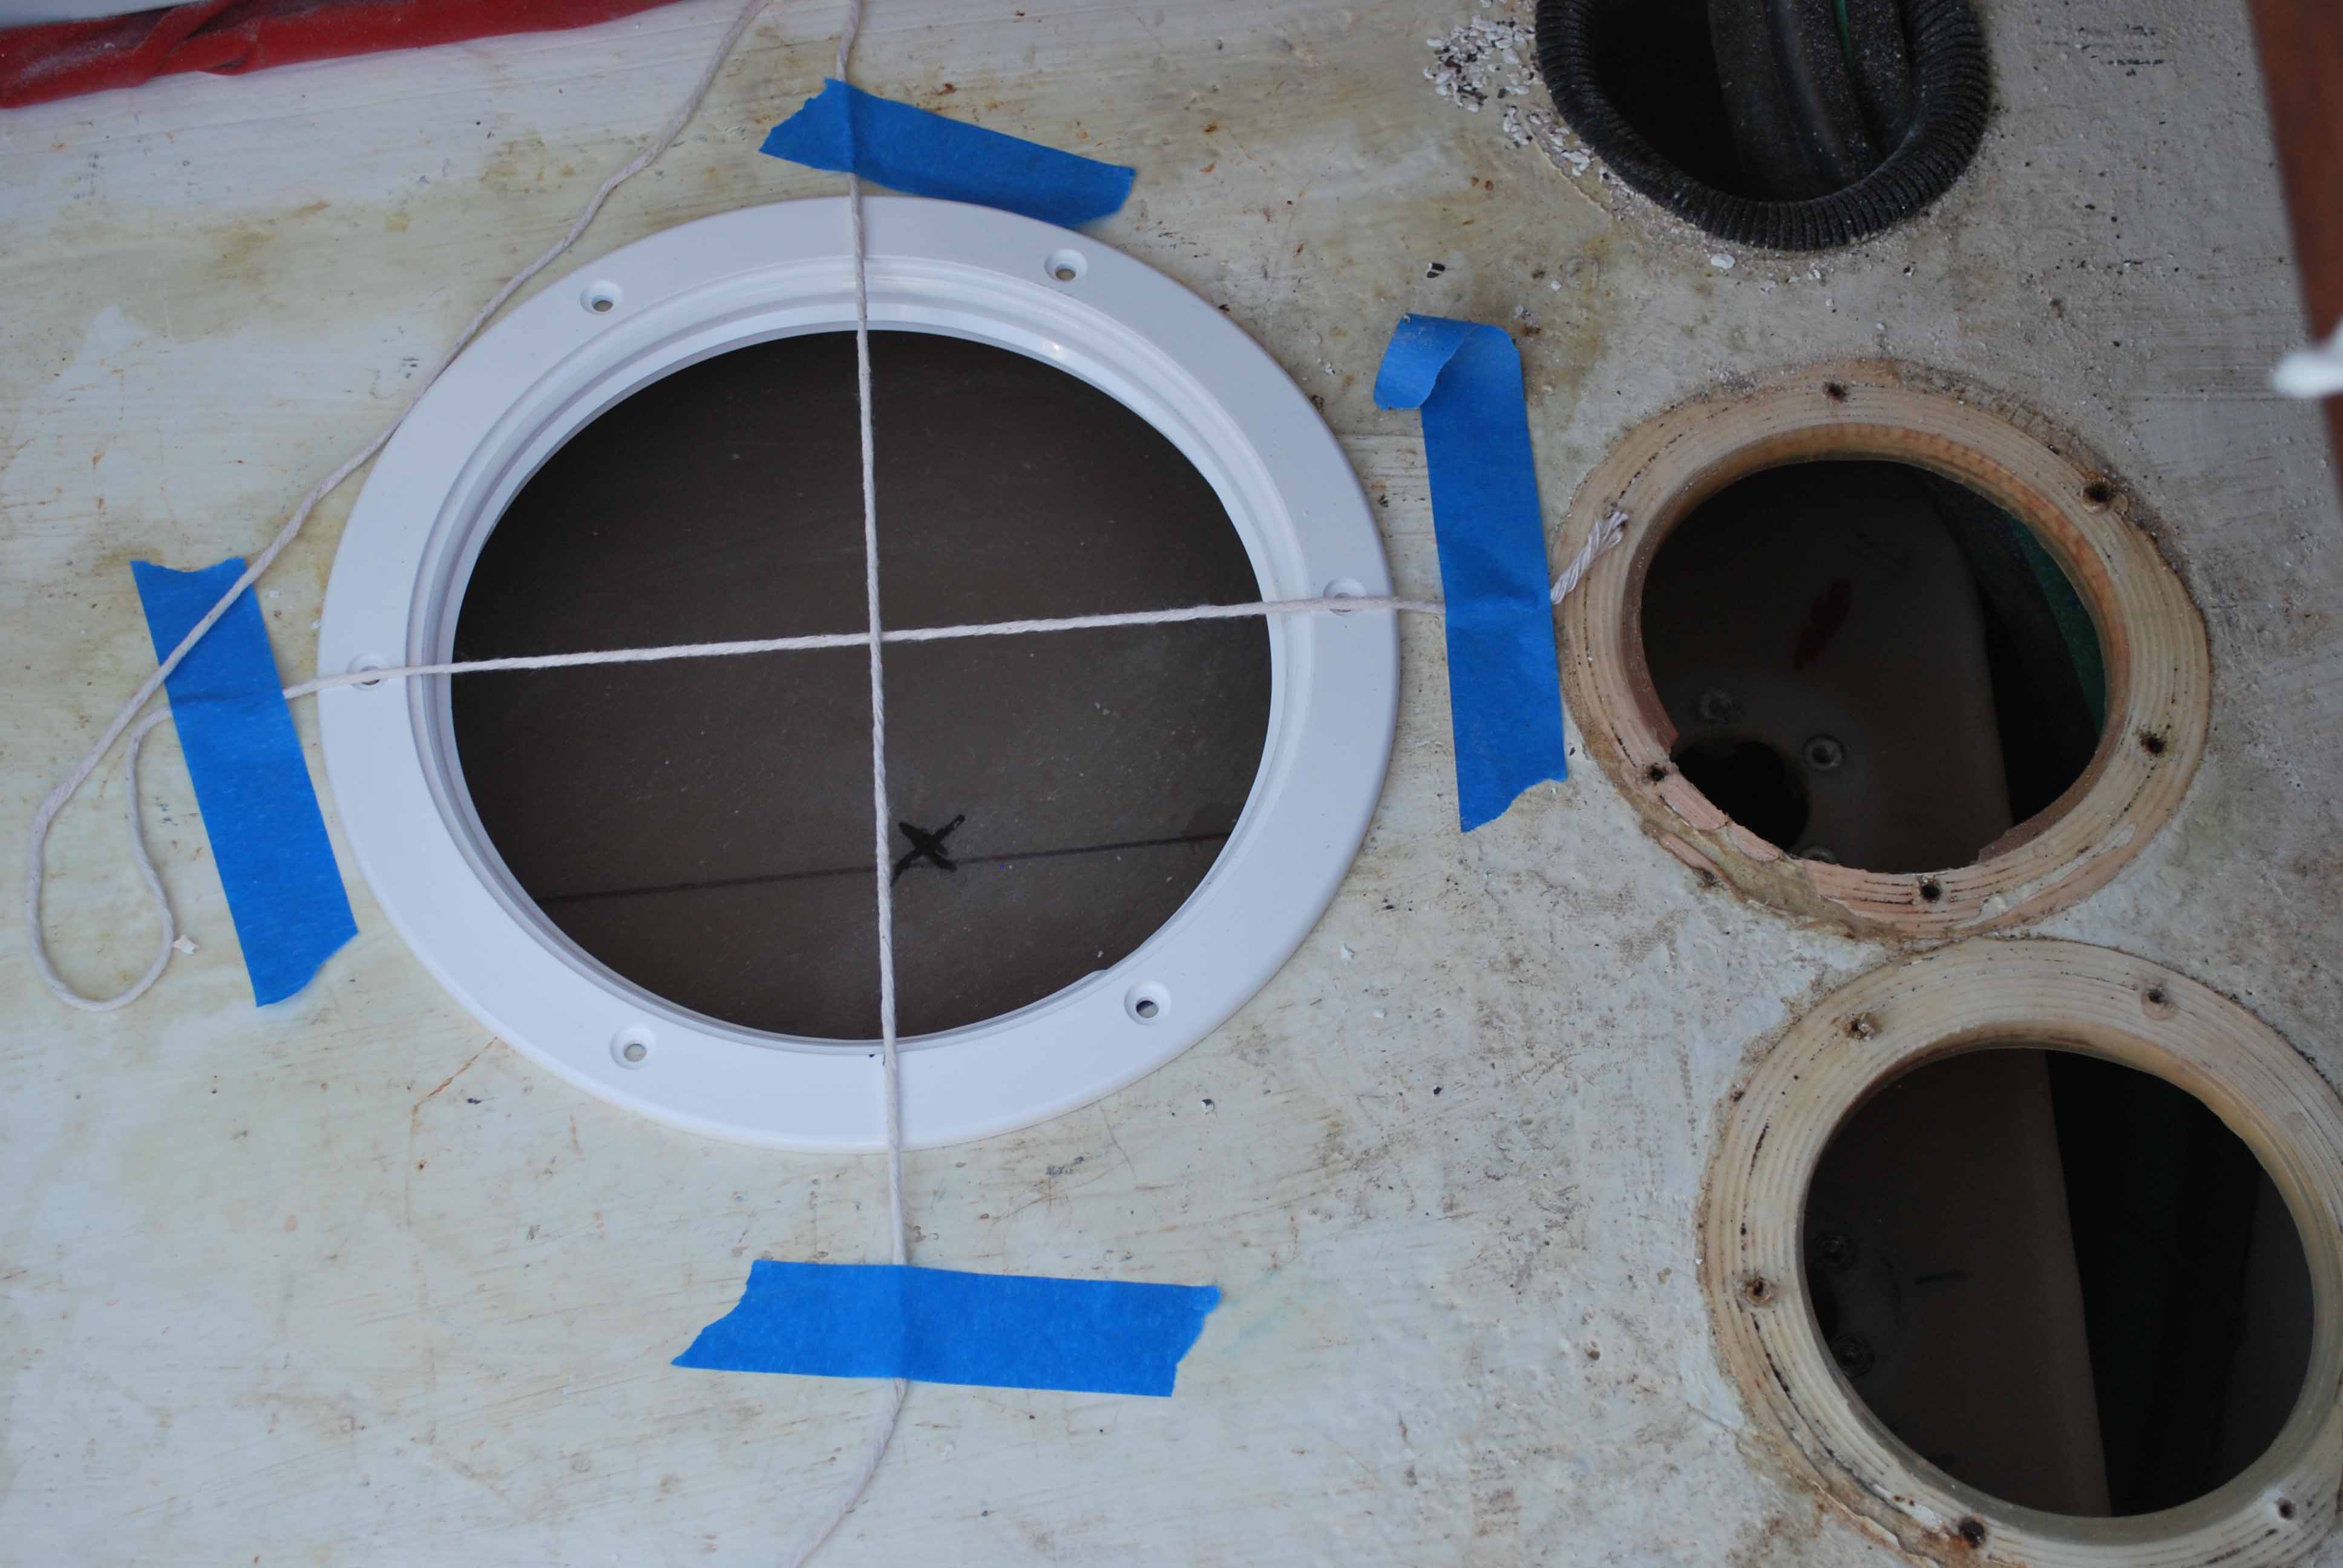
I then figured out roughly where I wanted the access plate on the tank and cut out the hole in the locker deck. Since I had the tank out, I had to slide it back into place to make sure the hole in the tank was directly under the deck hole (see pic 2).
Taking saw to plastic, I cut out the hole in the tank, laid the external gasket on the hole to determine where I need to drill the bolt hole, drilled them out, and installed the inner ring (see pic 4). All that was left was to install the plate on top (pic 5) and reinstall the tank (not a particularly easy job which could be a thread in itself).
If I was doing this again the only thing I would do differently is to put the access plate more to the middle of the tank so I could reach the aft end of the tank more easily. Before installing the plate I scrubbed the tank out using a tank cleaner from NAPA and a Johnny mop. I could reach the aft end with the mop but I'd rather be able to get my hand back there if possible.
Now, doing the install in place.... I find it extremely uncomfortable working leaning into the locker and trying to work on something about 2" below the deck.. However, this compensates for the difficulty of taking the tank out. Choose your poison.
First take off the bulkhead cover over the tank to make sure there are no wires or lines in the way of your blade. In my case, the wires for the fuel sender unit run aft to forward over the top of the tank. Also check to make sure your jig saw blade isn't so long that you start chopping into the top of the tank... there isn't much clearance between the tank and the overhead.
Seabuilt talks as if you would have fuel in the tank. I'd seriously suggest running your fuel down as low as you can before starting this project, then drain out all you can using an electric oil changing pump and a shop vac. First, you have to get your hands into the tank to install the inner ring and you don't want to have them sitting in fuel while your working. Second, if you drop something in the tank, you don't want to be up to your elbows groping around at the bottom of the tank feeling for it. And third, when I cut the tank hole itself, I got a good bit of plastic "sawdust" from the saw blade in the tank, which I shop vac'd out. You might not see this if it fell into fuel, and the pieces are not just dust; they were plastic swirls, if you can picture that. In any case, once you cut the hole its a good chance to examine your pickup tube to make sure it doesn't have a screen on it and the pickup tube has the soft tube extension on it (I found last time I had the tank out this piece had come off and my pickup tube only went about 3/4's of the way into the tank).
Sincerely hope this is the last time I have to take the tank out and my experience helps someone else.
Chuck Parker
HelenRita 2072 Mk II
2002 Tall Rig - Winged Keel
Atlantic Highlands, NJ

Chuck,
This would be a PERFECT article for the Maintenance section on the website!
Tom Sokoloski
C36/375IA Past Commodore
Noank, CT
There's a Maintenance Section???
Chuck Parker
HelenRita 2072 Mk II
2002 Tall Rig - Winged Keel
Atlantic Highlands, NJ
Yup.
[URL]http://www.c36ia.com/taxonomy/term/7[/URL]
Under the Technical Tab on the home page. Also an Upgrade Section:
[URL]http://www.c36ia.com/taxonomy/term/6[/URL]
and also Sections for Important Notices, Reference, and Manuals.
[B]AMAZING[/B] the stuff you can find there!! :-) :)
Tom Sokoloski
C36/375IA Past Commodore
Noank, CT
Hi Tom... I tried to send you a private message since its strictly administrative but I don't think it went so...
I found the Upgrade section using the address you sent. If I just go to it on the normal web page I get a message something to the effect "there is nothing posted".
In any case, on the Maintenance or Upgrade pages I can't find anything that says how to post there. Am I missing something that basic?
Chuck Parker
HelenRita 2072 Mk II
2002 Tall Rig - Winged Keel
Atlantic Highlands, NJ
Chuck,
If you got that message, it was either because you were not logged into the website, or you are not a (dues paying) member of C36/375IA. The Technical section is only viewable to members. Being logged into the Forums is not the same as being logged into the website. Being a "member" of the Forums is not the same as being a (dues paying) member of the Association.
As far as posting articles go, that's what the Tech Editors are for. Except for the Photo section and the the Forums, creating/posting articles can be done only by officers (for obvious reasons once you've tried to maintain a website). The association is in the process of moving/improving the website, so I'm not sure of the "new" details.
As they say in the commercial, "Membership has its priviledges".
Tom Sokoloski
C36/375IA Past Commodore
Noank, CT
My guess is you are not logged in as your membership is up to date :)
Gary Bain
S/V "Gone With The Wind"
Catalina 36', Hull #: 1056, Year: 1990, Engine: M-35
Standard Rig
Moored: Boothbay Harbor, Maine
Home: Auburn, Maine
I don't know... I am a member (have a 3 year membership) and I was logged in. Tom, you suggested my posting for the maintenance section. I agree with the control issue but how then do you submit stuff?
Chuck Parker
HelenRita 2072 Mk II
2002 Tall Rig - Winged Keel
Atlantic Highlands, NJ